Still Developing

" A lot of my enjoyment of photography comes from learning. This is typically done through talking with others, reading books, magazine articles, blogs, etc. Part of the balance of having so much good information available (especially the writings that people make available for free online) is to contribute back by writing anything that I learn or experience. If you get something out of this great. If you care to comment to correct my many mistakes, I would greatly appreciate it. Landscape photography can be a lonely occupation but the conversations we have more than make up for that. "

Saturday
28 July 2012
4 Comments

State of Velvia 50 Simulation

Yes I know I haven’t posted for a while but it’s been busy (see http://onlandscape.co.uk) however some things are better left off On Landscape and some of these are either unfinished ideas, stuff I’ve just knocked up quickly or rants – although the odd rant may appear occasionally within On Landscape when I can’t help myself.

This post is a quick test to see what the current state of Velvia 50 simulation is, prompted by the possible/probable discontinuation mentioned in a press release from Fujifilm Professional UK (see here for a petition to save it – probably useless but you never know – even if you aren’t a film fan/photographer, please sign it if you like David Ward’s, Joe Cornish’s* and possibly my work).

I took a photograph I shot a few years ago in Kintail and ran it through DxO Film Pack 3 and Alien Skin Exposure 4 and also did a custom job myself using the velvia transparency as an original.

Here are the results.

_0004_Velvia

Fuji Velvia 50

_0003_raw

The original RAW file

_0002_custom

My Custom Attempt with Photoshop CS5

DxO Film Pack 3
_0000_exposure

Alien Skin Exposure 4

Fuji Velvia 50The original RAW fileMy Custom Attempt with Photoshop CS5DxO Film Pack 3Alien Skin Exposure 4

The DxO and Exposure results are pretty crap and I had to turn the saturation on them right down to get them in the same ballpark as the Velvia 50 scan where I had to actually turn the saturation up on my drum scan. My custom conversion had to refer to the original but even then it’s off by quite a way – I just couldn’t get the separation in the greens I would have liked. The overall effect <strong>isn’t one that I really like</strong> (see below for my reason for film/lf).

My own conversion was better than the automatic ones and this was done by an overall contrast boost and then manually hue shifting yellows and yellowy greens towards orange and increasing the saturation of them and hue shifting greens towards blue. I also desaturate the highlights a little and make the shadows slightly bluer.

I’d like to try this process on the D800 files and A900 files to see if the sensor allows a more convincing simulation. One for the next post (hopefully in less than a year’s time).

Oh – and here’s my reason for LF/film. There is nothing necessarily wrong with digital results if you find the colour of the digital files or simulations pleasing; if so then you’re in luck. I don’t find them as pleasing as Velvia for certain subjects and that’s one of the reasons I continue to use it. However, the other and probably bigger reason is that I get a lot of satisfaction out of using a large format camera. I would be more likely to move to digital if they had ipad retina style live view on a technical view camera that showed the full dynamic range of the subject than if they could simulate Velvia perfectly. So much so that I would probably move to black and white before I’d give up large format completely. My pleasure in photography is mostly in the taking of the picture, not necessarily the end result. Yes the end result is a fantastic conclusion but not absolutely necessary.

Click to view full post including 4 Comments
Monday
25 October 2010
14 Comments

Jobo Automated Developing Unit (ATL 2300)

When I started off with my large format work, I had a couple of things on my ‘dream list’. One of those was a drum scanner (which I’ll come back to in a future post) and the other was one of Jobo’s automated processing labs. Well it took me a couple of years before I finally started developing my own film in a completely manual Jobo unit and a few months after this a friend of mine, Baxter Bradford, told me he was selling his film gear and buying a Phase setup and one of the things he was selling was a Jobo ATL2300 with a load of extras and a whole host of spares. Well, fortunately I had a little cash and a campervan that would fit the thing in and so I became the pround owner of one of Jobo’s flagship processing machines.

For those of you who haven’t heard of the ATL 2×00 series, they consist of a thermostated bath, motor and lift – just like your usual middle of range Jobo systems, but they also have an automated chemical pumping system, a powered lift, a chemical heating system and program settings to automate all of these systems. It’s as close you can get to a ‘plug and play’ system for film developing with investing with a full dip and dunk, replenishment system.

Read More…

Click to view full post including 14 Comments
Sunday
15 August 2010
14 Comments

Excuses, Excuses – But lots of news to come!

Soo – it’s been a seriously long time since I’ve been posting but that doesn’t mean nothing has happened, quite the contrary. I’ll try to keep the updates separate but to summarise, I’ve been finishing a couple of websites and I’ve finally got the Light and Land website live! I’ve also nearly launched Joe Cornish’s new website (last few products being added). On the film front, I’ve finally got my hands on a fully automated Jobo developing machine (and flooded the office whilst plumbing it in) and a drum scanner! Me and a few people from the lf-photo forum have been running a scanning comparison and I’ve worked out how to get the best out of the Epson scanner in the process (with surprisingly good results). I’ve also been playing with all of the colour films you can use now you’ve had to revert to sheet film (if you’re a large format photographer that is). On the general side, I’ve been using the Lee RF75 kit which is working really well (and fits on my LF gear too!) and I’m starting to use the Canon Tilt Shift lens too, which is a smashing bit of kit and opens up lots of opportunities.. I’ve also been off the the Yorkshire Wolds with Paul Moon and Jon Brock and have to say it’s a place that rewards investigation. I’ve also been playing with the new Intuos, have started to use Capture One and have discovered the best noise reduction software in the world ever! (for film anyway – I’ve yet to try it on digital). The big news is yet to come though, I’m announcing a new business venture in September and it’s a biggy – landscape photography related and lots of new content..

I’ll write a little post about each of these bits of photography related fun over the next few weeks and keep you posted on the business venture too..

Click to view full post including 14 Comments

.

Saturday
17 April 2010
8 Comments

Exposure Leeds – A Waffle on Photography

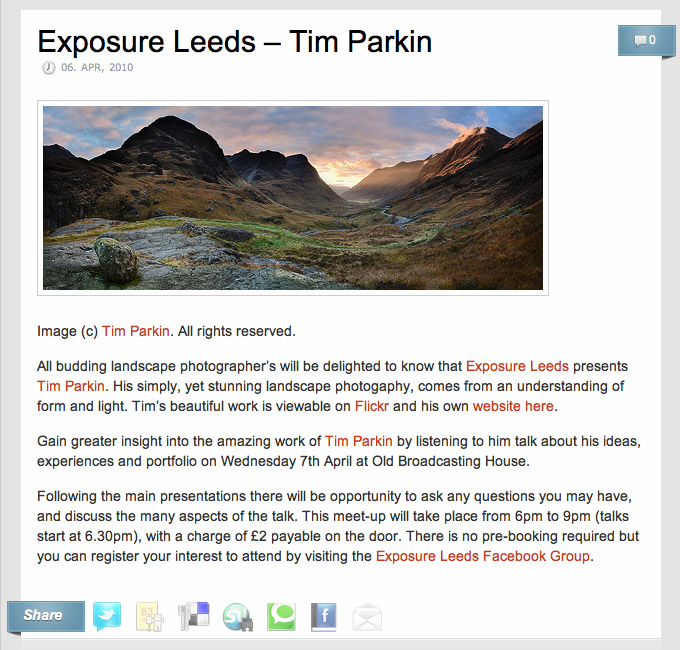
I was asked by Jon Eland (Strawbleu) if I would be interested in giving a presentation on my photography to Exposure Leeds, a community that started as a flickr group I believe but has grown into a general photography society for Yorkshire with members coming from as far as Manchester. I was unsure of how to approach giving a talk and given that I had to fill 2 hours, I figured I could cover quite a bit of ground. Obviously most people would never have heard of large format photography and so an element of this in my talk would probably be a good plan and there were an assortment of other topics I fancied covering too. In the end I decided to create a potted history of my photography, expounding on various revelations and cockups along the way, pulling in subjects such as film, large format, stitching, exposure balancing, finding the picture, composition, persistence, etc. etc. Sort of a mini-summary of this blog I supposed (although slightly less geeky so that I’d end up with the same number of people in the audience that I started with).

Not being the biggest fan of powerpoint, I decided to give Keynote a go after hearing Niall Benvie talking about it in such high regard. The application is quite a revelation – finally an easy to use presentation tool that concentrates on the show, not on the gimmicks (although it has these aplenty but their use is oriented towards supporting the presentation, not being the goal of it).

So, laptop in hand I got dropped off at the Old Broadcasting House site near the centre of Leeds with my camera gear, some slides and a light box to present with. Inside I found a wonderful space, well appointed and with great presentation facilities (a microphone that worked and a projector that rendered colours properly – a rare thing indeed). Only a couple of people were there at the start but as I got things set up, more and more people arrived. Finally, when Jon Eland introduced me, there were approaching fifty people in the audience! Well, I figured I’d best give them some value for money (£2 entry with free coffee!).

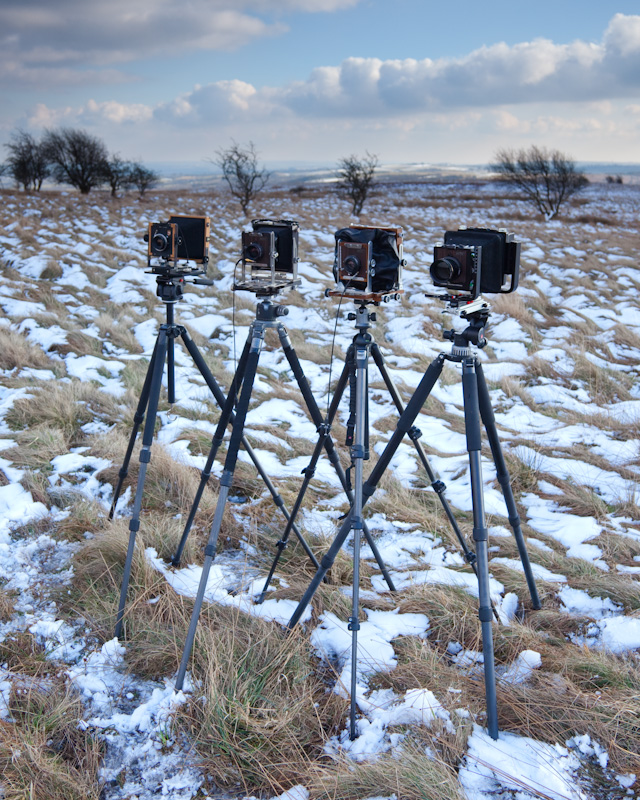
The presentation went exceedingly well with pictures dredged up from my digital past and it was interesting seeing a consistent picture of how I’ve progressed as a photographer. One of the highlights of the evening for me was explaining the large format camera in terms of digital cameras.

My question to the audience was “If I said I was selling a single use 100Mp digital sensor that had a vastly superior colour handling response and only cost £3, how many people would buy it?” – the response was pretty damn positive. I didn’t add the next bit but I could have “And you could buy a camera that used this sensor for half the price of a Canon 7D and you can get lenses for the camera that are the equal to the new Canon 24mm tilt-shift, which retails for £2K, for about £3-400 – would you buy it?”.

I imagine most of you know what I’m talking about and, put in those terms, most people seem to react very positively indeed. Never mind adding “Oh and you can pick your sensor reponsivess to give you anything from a Joe Cornish colour boost to a Fine Art accurate colour response with 10 stops of dynamic range”. I was also cruel enough to point out that if you take black and white and like using a red filter, your 20 megapixel camera is now only a 5 megapixel camera – I actually felt guilty about that one… Oh, and an interesting blog post recently about guy testing the M9 against an M6 with some microfilm developer and the results are very interesting

Other bits of my presentation were mostly about why it’s better to take less pictures, reinforcing the point that the less pictures you take, the more time you have to find them and actually work on the composition once you’re there. I think I made sense :-)

I finished the talk by showing a video by the God of Landscape Photography – no not Joe Cornish, Peter Lik – He of the “To get the best light I use the 5 minute window that photographers know as the ‘golden hour'” – take a look at it yourself here..

The response to my talk way exceeded my expectations, as did my enjoyment of giving it. A couple of response from people at the bottom of this blog post. I went for a drink afterward with flickr photo here Tricky and Jim Moran (whom I had known through the internet for many years but had never met before) plus quite a few other people who went to the talk (it’s handy having a pub next door to the venue). The evening was a great success by my criteria and I’d happily give another talk now – knowing that people find what I have to say interesting.

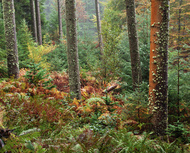
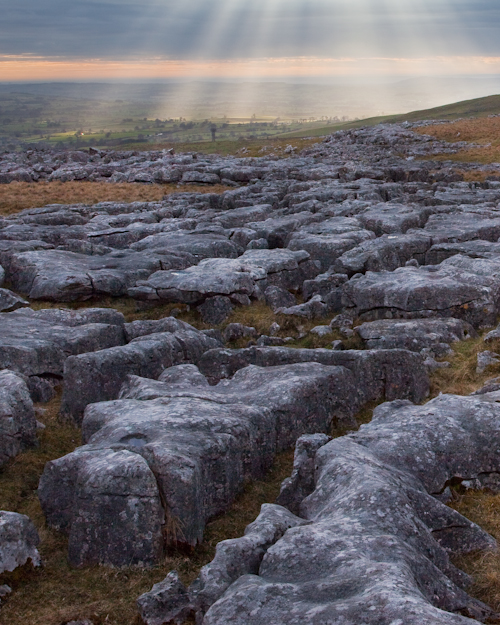
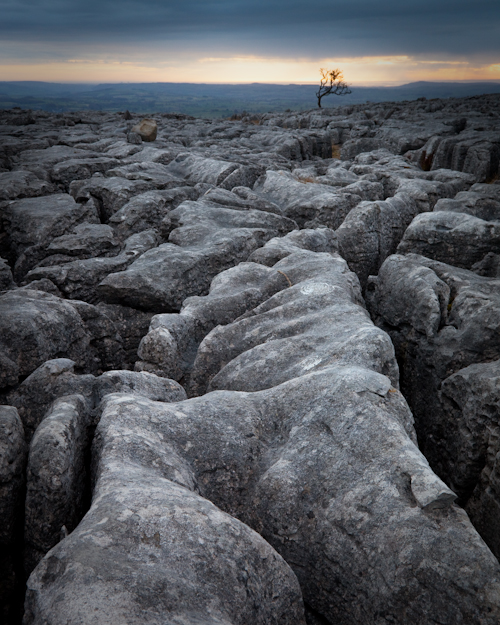
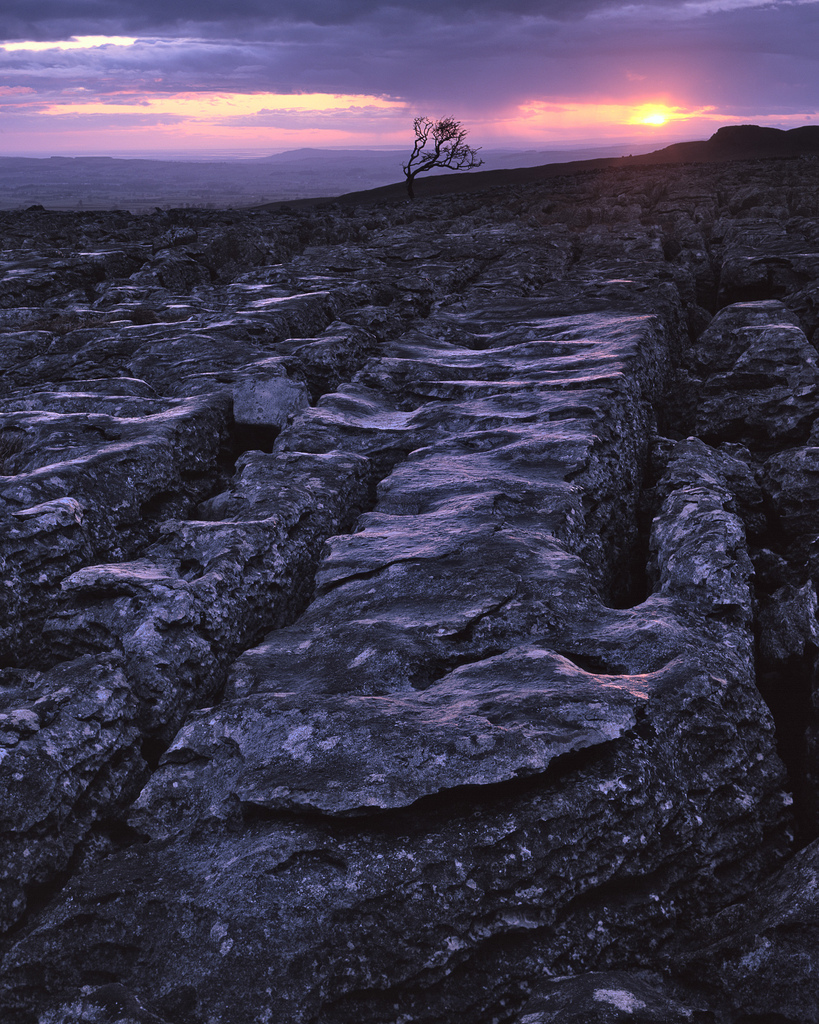
Hopefully we’ll also get a few more people interested in large format photography! A bit of evangelism doesn’t go amiss (and may convince the film companies that there is something to this large format thing – well, OK – I won’t manage it single handedly but if everyone does a bit, we’ll could definitely boost the scene somewhat).

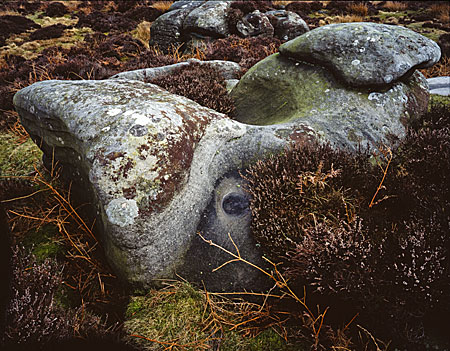
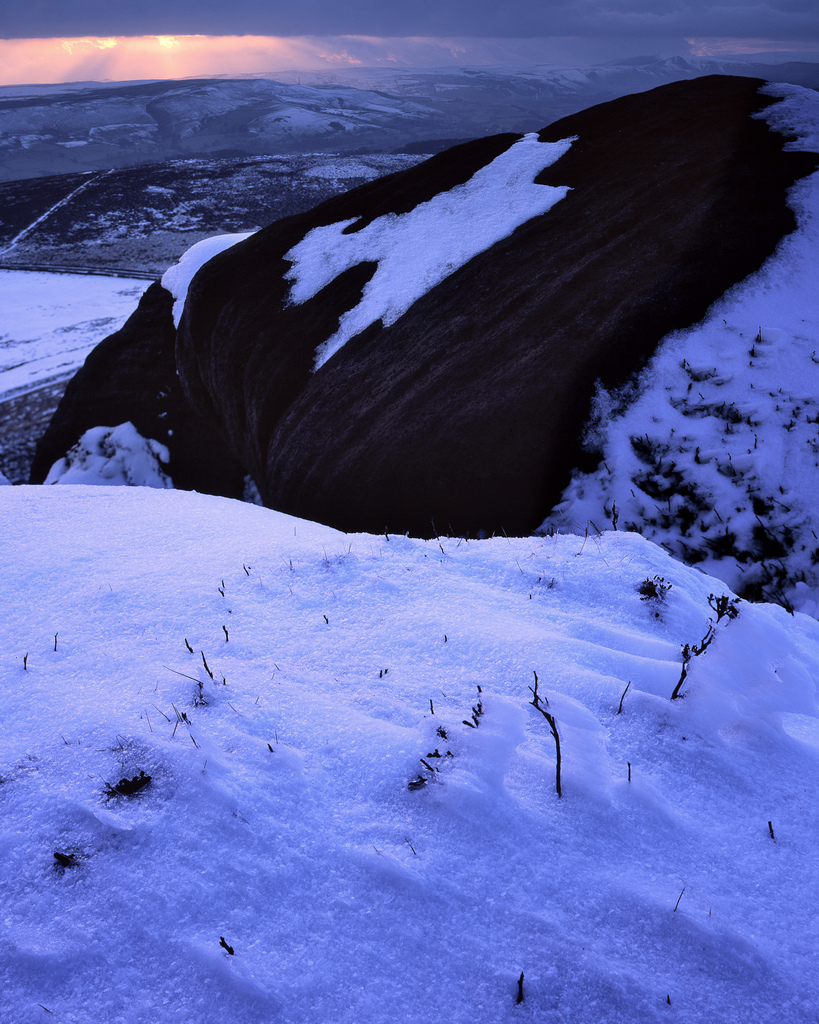
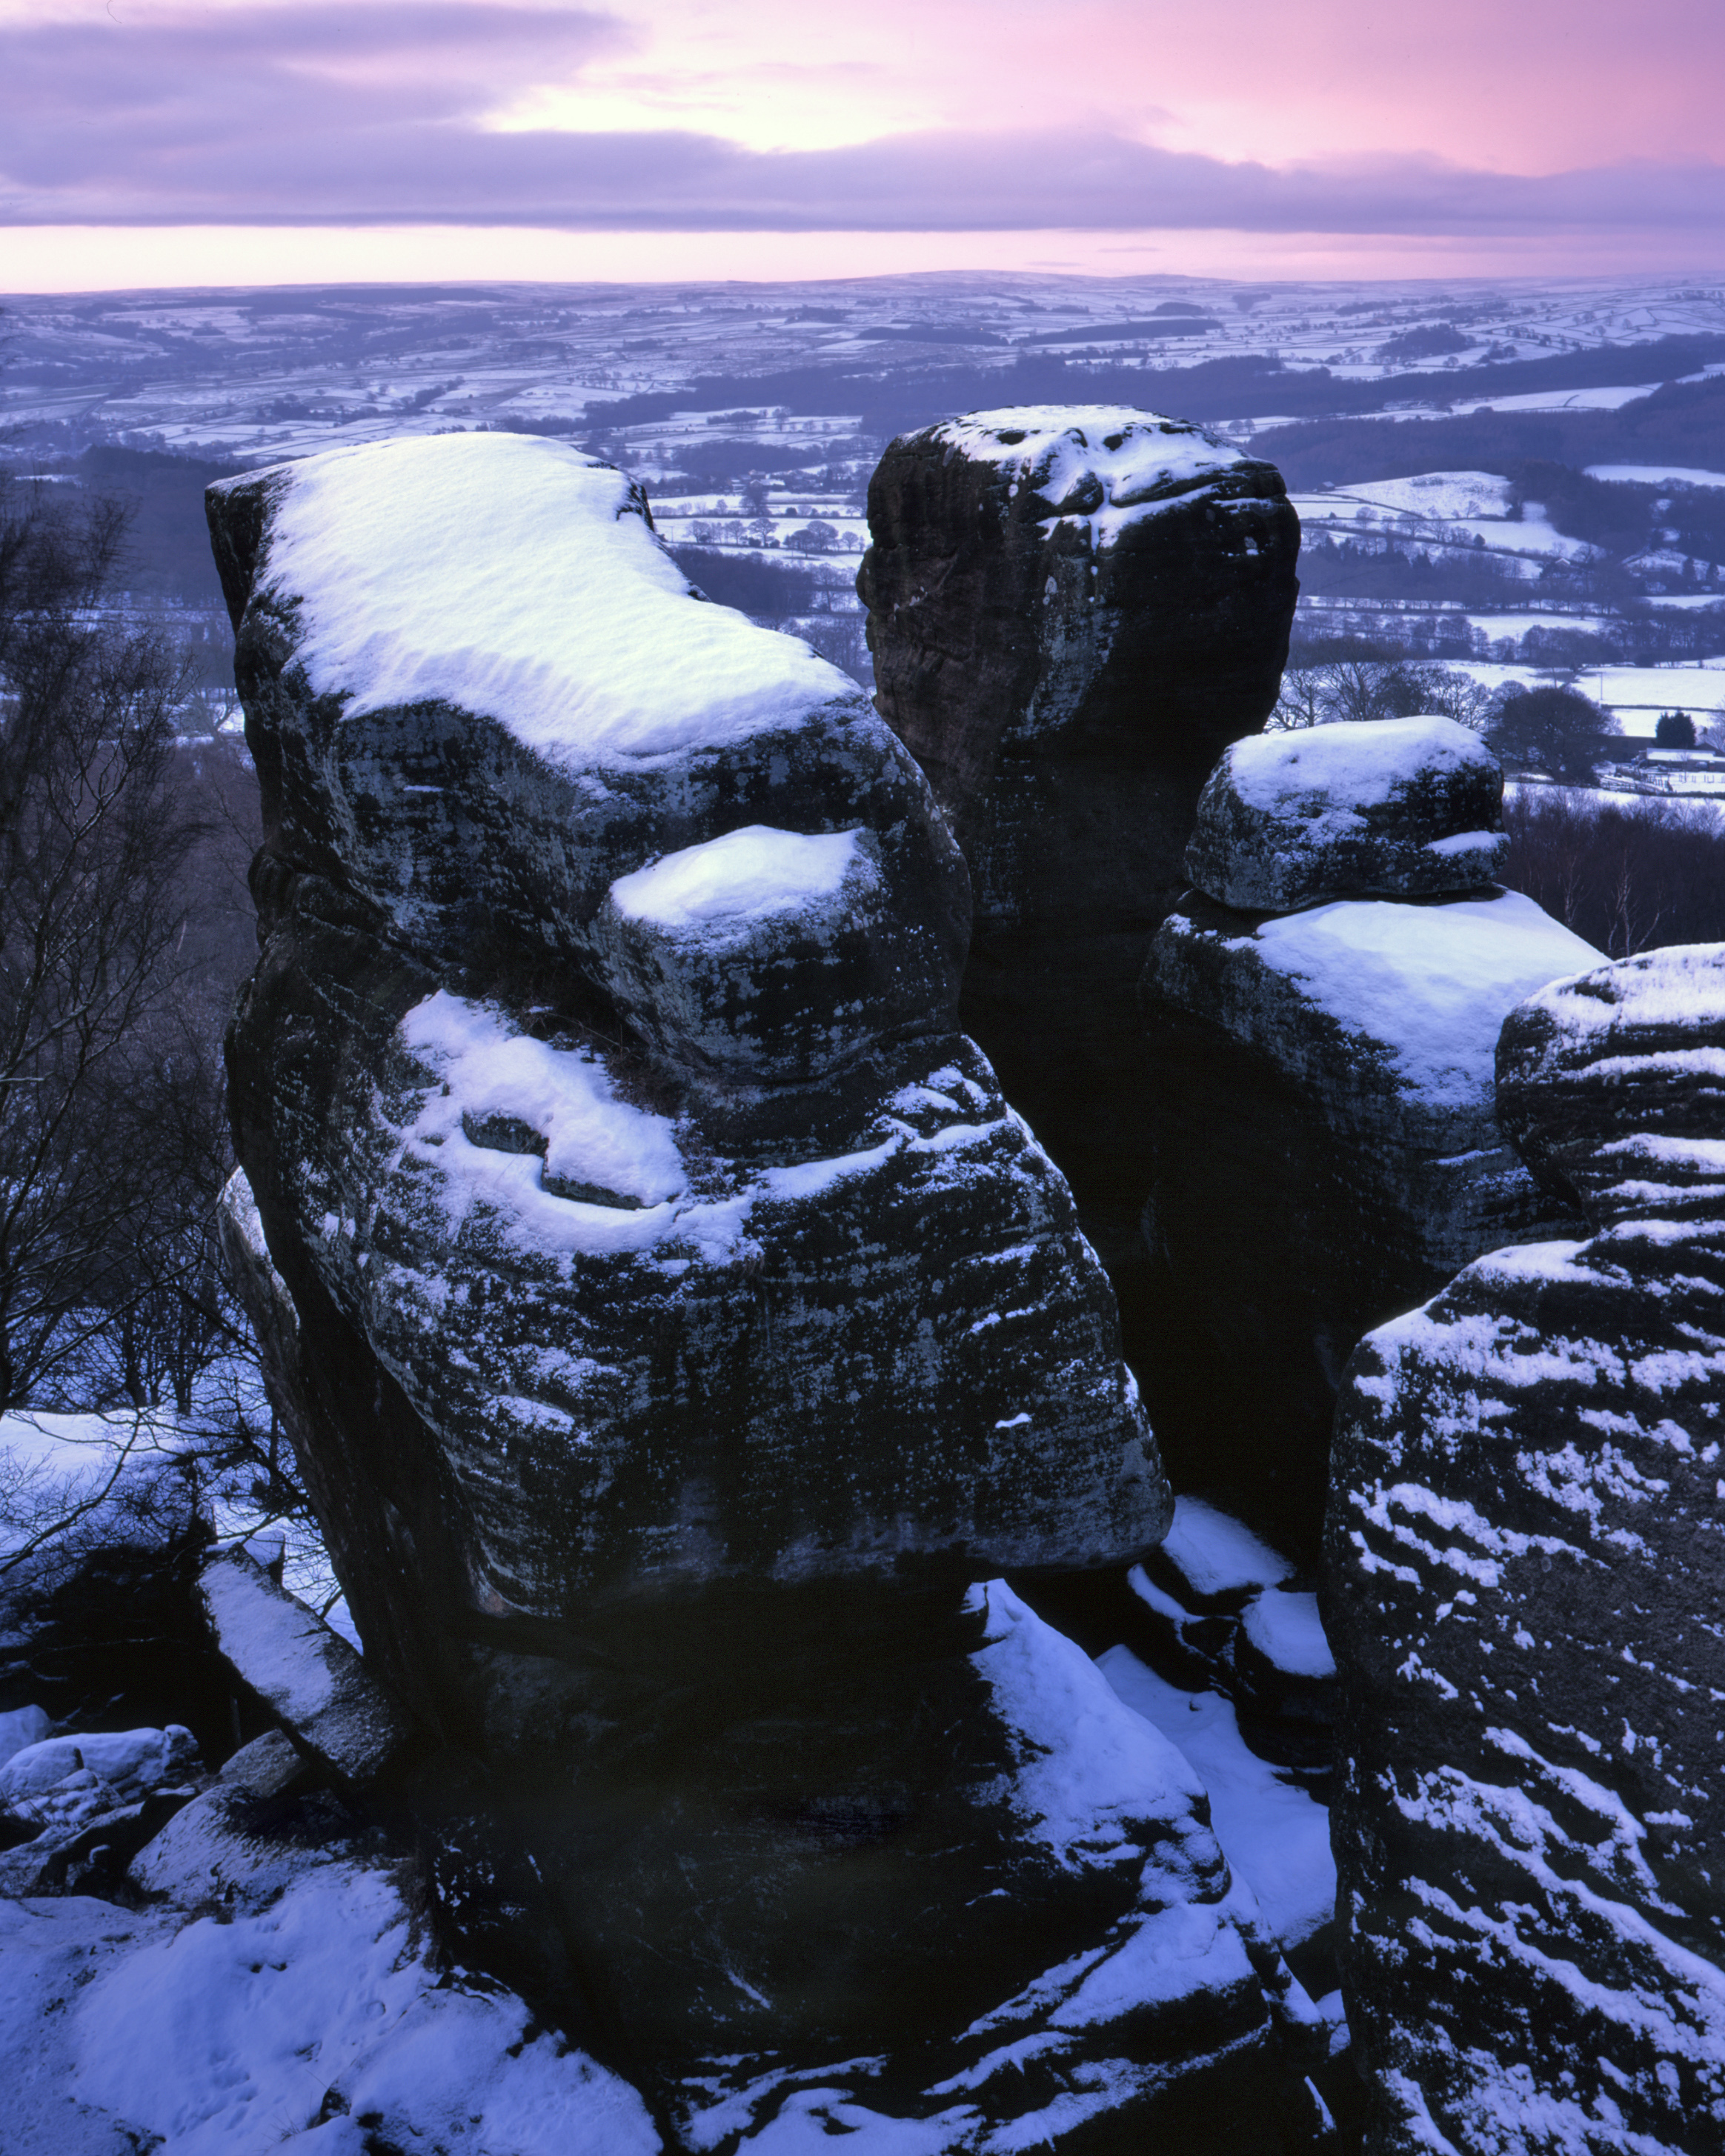
For anyone who wants a taste of landscape photography, our Large Format courses are working with Leeds Exposure to create a one off outing at £120 as long as we can fill the 6 places. Each person who comes along will be able to take two pictures and will get the use of one of our large format cameras. We’ll develop the film and scan it into digital for you so you’ll have the original slides and a 200Mp digital conversion. We’re trying to work out where to host this event and currently we’re thinking about Brimham Rocks. If anybody has any other suggestions, please add a comment to this post.

Also, the feedback I’ve had from the talk was brilliant.. from a few twitter posts..

“Tim delivered a thouroughly interesting presentation at Exposure Leeds. It was great to see a different approach to landscape photography than I am used to and his talk (aswell as his photos!) inspired me.” – Gary Stevenson

“Tim’s talk was informative, humorous and above all passionate. A truly insightful evening! Did I fail to mention the superb photography?” – Malcolm Stoney

“Really enjoying @timparkin talk – nice explanation of how large format cameras work!” – Jon Eland

“Very interesting talk by the very talented @timparkin at @exposureleeds tonight, feeling a bit tempted by large format :-)” – Rick Harrison

to a wonderful blog post by Elly Oracle.

Thanks to everyone who came for making it such a fun time!

Click to view full post including 8 Comments
Friday
16 April 2010
4 Comments

First Peak District Large Format Course

Working with Dav to put on a beginners large format course was something I was quite excited about and as much as we knew we were hitting a potentially small market, we were hopeful to get at least a few people along. As it turned out, our first course had two people and one more participant who came along on the Saturday afternoon.

So after picking up Vinnie (our new camper whose full name is Cosy Rosy Camper Vinne Van Parkin – named by my neices) in Chesterfield, I enjoyed my rolling drive over to Baslow, where we were hosting the course at the Devonshire Arms hotel.

I have to say that the Devonshire Arms has been renovated very nicely and the staff are very friendly indeed. A couple of teething problems but nothing major so we met up with our guests, Robert Parslow and Simon Howers. Robert is a veteran of many Light and Land courses and it was nice to meet up with someone whom I had been heard in very good tones before hand. Simon I didn’t know and although he had a lot of experience with film, he was only just starting to use the large format camera and was interested in how to use tilts and movements.

I’d spent a few evenings the week before writing some comprehensive notes about the technical sides of photography and so the friday evening was spent reviewing some of the cameras (including Dav’s new Chamonix – which I’m sure he’ll write about soon but was very impressive to me). Then back to bed, check for the shitty morning weather and meet up for a nice morning’s chat about tilt, shift, swing, diffraction, pies, politics, movies and then it was time to get out and put a few things in to practise.

Out to Baslow edge and we’re trying out some movements and taking a few pictures. The weather was glorious with beams of light travelling across the valley that we could use as studio lighting. I tried to explain the concept of using the sky as a big lighting rig. Softboxes for the foreground (the edges of clouds where the light is diffuse and soft), a few spotlights on important features in the background (beams of light coming through the clouds) and the jobs a good ‘un. I took a picture alongside everyone else.

Back to the hotel and we set up our Jobo CPE in the bathroom and developed a few films and then back out again for some more shooting, meeting up with Paul Arthur and his wife along the way. The afternoon was more overcast but we could see a good break in the cloud on the horizon so we prayed for it to stay. Fortunately it opened up and gave us a wonderful lightshow. I managed a quick shot of some Bracken shapes and a wall, making the most of the subtle purples and reds in the heather and bracken – underexposing my velvia to make the bleached bracken strands stand out in the foreground. And whilst I was taking it, Robert Parslow was taking this wonderful photograph just next door.

Back to the hotel for tea and then a slide show and a chat about composition and it was off to bed again. Sunday morning went a little less straightforwardly. I was up early but we found out that the doors couldn’t be opened so I followed the fire exit and moved a chest of drawers out of the way along a corridor and then unbolted and opened the front door at which point the alarms went off – or so I though – it was actually my very loud iphone alarm telling me I was about to miss a sunrise. So we’d found a way out but we couldn’t lock it again and so I stayed behind and waited for the staff to arrive.

The rest of the gang went out and enjoyed a great sunrise at Higger tor alongside a bunch of jumping, singing and dancing born again christians. Me? I was just sitting back at the hotel but unbeknonst to me the alarms had gone off and the staff member that was living in the hotel had tried to get out but his way was blocked by a chest of drawers (how did they get in front of his door then?) at which point he thought he was trapped by some gang of theives and called the police (I’m not sure where the police were though – they need a better service obviously).

In the end, we had a chat with the staff about it and apologised; we were both put out a bit. Anyway – back out again to Padley gorge and we had a few good opportunties for pictures (I got captivated by the mosses on the trees and walls).

Overall? A good start to the courses I think.. no profit made but everyone came away happy I think they all learned something. A big thank you to Paul, Simon and Robert for coming on the course and making it very enjoyable (if quite tiring and a little stressful – developing someone elses film in a bathtub is a worrying task at the best of times – even worse when they’ve paid for the service).

UPDATE: I’ve got some pictures from the course and have uploaded them to picasaweb..

Peak Workshops
Click to view full post including 4 Comments


Wednesday
14 April 2010
21 Comments

Landscape Photography Accessories

So, the pain, missed shots, slipped discs and just downright frustration of this winter is just not to be repeated. Our current mode of transport is great for long distance cruising and copes well around town but a 3.0L 230bhp Automatic with big low profile tyres in the snow? Nah! Double Nah! Embarrasing even… and it cost me a week in bed as I tried to push it out of Brimham Rocks car park (even before we’d actually parked).

Anyway, I’d been considering a campervan for a while and I’d been looking at a website that imports ‘rust free’ Toyota Hiaces from Japan for some time (http://www.poplarmotors.co.uk. There are some 4×4 2.8L Diesel engined Hi Top vans that looked very nice and so we planned a trip down to Chesterfield to take a look, planning to buy later in the year.

As it happened, the garage had the perfect van (i.e. High top, night heater, 2.8 non turbo diesel, very clean, <£10k, awning, open conversion with good window views, gas/electric fridge, gas hob, space for roof locker, sink, mini-toilet). It was in very good condition and only had 60,000 miles on a 94 plate and was just the right price. The night heater was a bonus as I was thinking I would have to fit one for an extra £800-£1000 pounds (a night heater is a little in built efficient diesel burner that exhausts fumes outside of the van and uses a heat exchanger to warm the inside of the van – hopefully very useful when camping in winter conditions).

We had to have a serious think but as far as I was concerned, this was the one. I had done quite a bit of research before hand and discovered that the Hiace is used in third world countries around the world as a minibus and transporter. Story after story I read stated that they were unkillable and would tackle even the most ridiculous of potholded, muddy African roads and the 2.8 diesel engine is so easy to work on and spares available so cheaply (China used to Hiace as the model for it’s own line of people carriers with compatible parts supposedly) that I shouldn’t need to do much work on it (compared to some of the other better specced manufacturers cars which are a little prone to breakdown – including the 2.4 diesel turbo in the UK version of the Hiace). It took a bit of thinking about (OK, not much) and we put our money down.

A couple of people have said “Is it really a proper 4×4?” – well, take a look at the following video of a minivan version taking on a 4×4 jeep..

If you’re short on time, skip to these times, skip to 1’47”, 2’45” and 5’10”

Another good example is

and here’s a few more

We went to pick it up on the day that me and Dav were starting out large format course and it drives beautifully – well OK, a little bathtub like cornering at speed but it reminded me of my old Morris Minor Traveller – even down to the 50mph limit going up hills :-) it does cruise at 60 nicely though, enough for me..

We’ve yet to try it out for an overnighter but a trip to Whitby is on the books and I’m planning on getting a set of chains so that my personal case of seasonal affected disorder (or “missing effing winter shots”) does not occur again.

As a couple of colleagues have said, the most important part of photography is being in the right location at the right time and given that, a campervan has to be the ultimate landscape photography accessory!

Poplar Motors supplied this Camper Van and they’re very nice people!

Click to view full post including 21 Comments
Monday
12 April 2010
11 Comments

Twistleton Scar – Black Hole Sun

Ah – A chance to go out in Yorkshire again so it’s back to old haunts. Places like Malham Cove have loads of opportunity but I like the mass of ‘ingredients’ that the limestone pavement that Ingleton and it’s surrounds give (I also like that they don’t push you into taking a certain angle or subject). So it’s up to Twistleton and a quick walk up to the scar. The weather was windy and cold but invigorating and apart from a brief moment of nearly getting knowcked over as you crest the edge of twistleton, everything was sublime. Sunbeams were scanning across Hawnby and you could see out to Lancaster and Morecombe Bay (digital snap below – fast moving light and a frantic search for foreground meant no LF of this one).

We then wandered around to the east side of the wall at Twistleton Scar End. I spent some time working around the row of trees on the pavement and also a large hawthorn where we were resting, I’ve posted the black and white conversions below – feedback appreciated.

After a while, I started scouting subject matter to work around the dramatic sky that was developing just over Barrow and just as I started setting up a shot, I started to have trouble focussing. No matter what I did, there was a great big blur over Morecombe bay. I came out of the dark cloth to see the biggest front of rain coming in and the view almost completely obscured!

Nothing for it but to wait it out and get pee’d on. Just as the rain started to abate, the sun poked it’s head out – more rain looked like it was on it’s way and it was gusting 30-40mph. Just as I was about to go back under the dark cloth to check focus, I saw that the wet flat areas of pavement were picking up reflections from the low angled sun but, unfortunately, the best bits were about 200 ft to my left. Another quick move, setup and recompose and I was again waiting for the rain to stop and wiping the lens down every few minutes – a frantic setup often leads to compromises and I focussed this one by eye (no loupe) and took two exposure readings (the edge of the sun – around an EV13, and the foreground, around an EV8 for the mid-tones) and dropped a 3 stop hard grad in place and crossed my fingers.

I managed to get four frames off, a Provia, an Astia and two Pro160S’s. The main picture is the Astia which came out very well and is sharp as I could expect (the pavement is spot on, the horizon is OK and the tree itself is a bit blurry from the wind I think), although a little underexposed, it seems to capture the feeling I wanted (at least for me).

Driven back off the hill by the wind and rain just as the sun set, it was a dark walk back to the car with head torch battery slowly failing, but a very satisfying way to get back in the photography driving seat.

Click to view full post including 11 Comments

system asset

Sunday
11 April 2010
12 Comments

Finding Your Landscape Photographs

A second trip to the Peaks saw Dav and I in Padley Gorge –  I keep on getting fascinated by the colour of the mosses down there and the way the ambient light seems to make them glow (especially when you use a polarising filter). This time I’d found a branch that obviously had a little navigational problems. A few people ask me how I find compositions when in woodland like this and so I though it might be enlightening to show you a few pictures I took as I was trying to find something to capture and also as I worked on the composition.

The first thing that you have to know is to close one eye! This is essential as if we don’t, we see far too much interesting 3D structure to be able to pick out the 2D shapes. The second thing is to move slowly and be constantly looking around (preferable only look around when you are standing still as you will still ‘see’ in a form of 3D by interpolating the way things move against each other). The first thing that I saw in the woodland that captured my interest was just the mosses. Quite a few branches was draped with this wonderful green moss and I started to walk around, looking at each area of moss, trying to identify interesting shapes or backgrounds. The first area I saw that started to look interesting is shown below.


The area that interested me was the curving branch just above and to the right of my camera bag. The next step was to get a bit closer and examine the area.. I could see the branch itself was going to be the focal point, the next step was to look around at the background of the branch and also to see how the shape of the branch changed as you looked at it from different directions.


I decided quite quickly what part of the branch I wanted to photograph but as I moved around the scene, some of the background to the branch made any potential picture very fussy. Here th left hand part of the branch itself is fussy and the tree in the background is quite dark and cuts through the area of interest.


This picture shows the angle where most of the elements of the picture are lining up OK.. The area below the branch is still not quite perfect, there is a little too much leaf litter showing and the green rock is touching the branch. The next step is to work on cropping the area of the branch I would like to take a picture of.


The next step is to start working with focal lengths to see what happens when we zoom in and out. This step effectively allows us to ‘scale’ the background of the image, to include or exclude elements. For instance, this is only a minor tweak but I wanted to close up the gap below the bottom branch and also didn’t like the small branch that shows in the following angle..


In the red area, I wanted to try and tuck the tree trunk behind the branch a but more. The yellow area the same, hoping to move the trunk just above the yellow area to the left a bit and also to hide a bit more of the white branch (or at least don’t have the white branch contrasing against the very dark bit of branch in front of it. The blue area needs closing up a little and hopefully hiding the stone and finally, I would like the path of the eye following the bottom limb of the branch to get to the green area and then to continue up the trunk. So hopefully moving the background to the left a bit and also shrinking the background slightly (lifting the bottom up and moving the right hand side in a bit).

You get this effect by zooming out whilst moving toward the subject, trying to keep the subject the same size in the frame using the zoom. This gives you an effect not unlike the bit in Michael Jacksons thriller video where his head stays the same size but the background falls away rapidly (over used to much effect in many horror films since). Anyway – the overall crop and composition I was after is now shown below.


Now the next thing to add is a polarising filter, hoping that it will help darken the highlights in the scene, ultimately creating less contrast and boosting colours in the process.


And finally, set up the large format camera and do some focus jiggery pokery (A combination of tilt and swing allowed me to get the branch limbs in focus but in the process gave me a small depth of field at the bottom of the picture where the depth of field wedge was ‘pointy’ and a larger depth of field at the top of the picture.  ) and some last minute composition fine tuning.


And finally – I thought seriously about a crop when I was taking the picture, I’m not sure about it though. I quite like the way your eye travels back up the tree trunk on the right however the crop has the advantage of being a very simple, clean composition. Any thoughts?


Oh – I took another couple of pictures whilst I was out and I’d love some feedback on them as they aren’t my usual style of composition. They’re in the sidebar after the wiggly branch shot (sorry about non-‘artistic’ photo names – how about “Druid Soul of the Half Shade”)

Click to view full post including 12 Comments

system asset

system asset

system asset

Saturday
10 April 2010
No Comments

Large Format Family Outing

The day after our Surprise view shot, we returned to the same location for a dawn. And what a dawn! I was capturing promotional shots and some video content for our course but Dav got a couple of corking shots, the view below shows Dav taking a picture using my Nikkor T*ED 500mm lens (corkingly sharp, which is very reassuring).

system asset

system asset

Later in the day we took some video of the different cameras we’ve got for people to use when they come on the one day and weekend courses. At the end, we set up a few of the cameras for some ‘landscape photographer porn’. I hope you like :-) The idea was to capture some video to edit into a small advert for our large format courses, I’m still getting to grips with Final Cut Pro (not much time either) be interesting to see

The Peak District had a final surprise for me after staying at Dav’s overnight. 2 inches of snow were dumped outside Dav’s house which left me stuck in Sheffield despite gritters running up the road a couple of hours later. It was only the action of the locals (they have their own gritting buckets – it’s obviously a regular occurence).

After getting stuck twice already due to the snow, this was one of the final straws that got me thinking about 4×4’s and campervans. More later :-)

Click to view full post including No Comments

system asset

Friday
9 April 2010
No Comments

Landscape Buses

It’s been a busy old month – lots of bits of work on websites, a couple of trips out to look at locations for our workshop and finally our first Peak District workshop – oh, and a two hour talk to Exposure Leeds and finally finally, the best photographic accessory I’ve yet bought; a four wheel drive camper van! So you’re doing a bit of a bus stop experience, nothing happens for ages and then they all come at once – in this case, it’s blog posts instead of buses.

Backing up a bit, all that talk of discontinuing this and stopping that got us all a little miserable and it was only the introduction of a new large format film that lifted our spirits a bit (Hopefully more on that in a future post). So it was with great pleasure that I finally got out to take some pictures (and apologies to regular readers for the delay in posting, once you’ve skipped a couple of weeks worth of blog entries – skipping a whole month is nothing!). Oh – and as a teaser, I’m hearing rumours that Fuji may be doing a U turn on discontinuing quickload! Nothing confirmed yet so don’t get your hopes up. It sounds like they were stopping it in all markets but Japan at first but they may reconsider and export some after all. It also sounds like Acros may still be available in Quickload (Robert White have a shipment coming in – expect high prices though).

I won’t try to recap the whole of the last month in one blog post (noone will bother reading past the 34th paragraph anyway) so I’ll start of with a photo from a trip me and Dav made to Padlyage Surprise Edge View Gorge (Dav says he’s going to get me a map so until then it’s a random peak district name generator) back at the start of March. The idea was to try to capture some promotional material for the courses and so we drove out to surprise view on the friday evening and watched a beautiful sunset over snowy fields.

Two parts of the picture caught my attention, the first was the large crystals of snow and how the wind and moisture had created tails on the bits of heather sticking up. The second was the beautiful textured lines on the rock in the background and how they contrasted with the patches of snow.

Not having worked in the snow very often, my initial thought was that I was unlikely to be able to capture the dynamic range between the dark of the rock and the highlights in the snow. The ‘zone meter’ I have pasted onto my Pentax spotmeter told me that I should just be able to fit the range inside provia with a 1 stop soft grad over the snow in the foreground. As it turned out, because I was so close to the foreground, bellows factor meant the foreground was going to be 1/2 to 2/3 of a stop darker anyway and so I ended up only using a 1 stop hard grad over the top of the picture.

This top grad was deployed late on as I sat waiting for the sun to appear below the clouds that were hanging above the horizon. I had a decision to make though, I could see the sun was going to appear soon from the rays of light appearing but should I wait for it to highlight to whole band on the horizon? I had a funny feeling that the sun would just die before it appeared because I could just see a band of cloud just above the horizon too.. I decided to take a photograph early to ‘get one in the bag’. It turned out I was right and the light show was over .. or so I thought. A bit later a great thunderhead appeared, back lit by the red setting sun.. Wonderful evening..

I’ve also got the film version of the Brimham Rocks shot I took on New Years day processed and I’ve included it at the end of this post.

Click to view full post including No Comments

system asset

system asset